Blade signs
Illuminated Blade Signs for Street Frontages
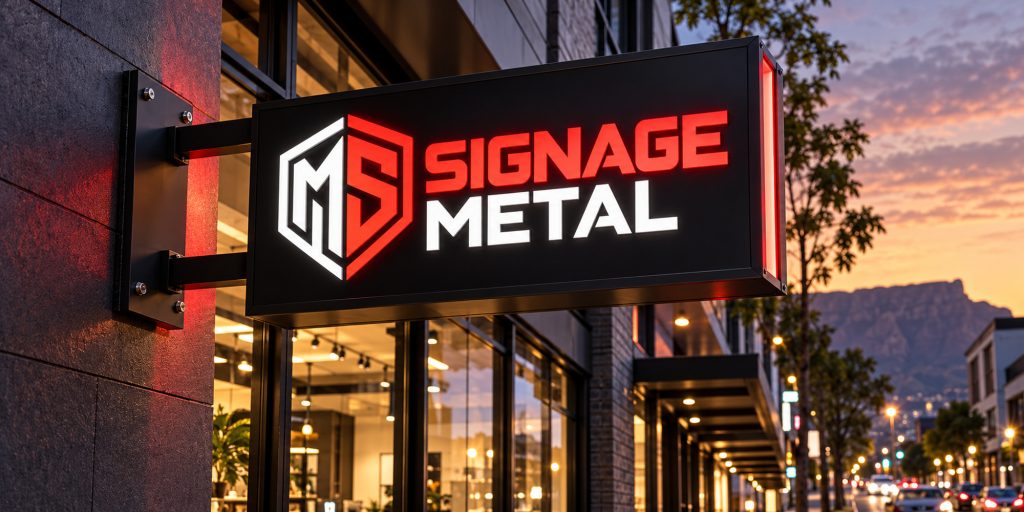
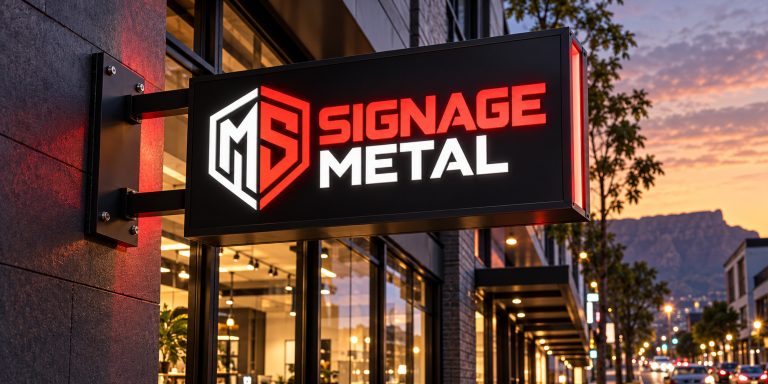
A blade sign projects from the wall at right angles to the street, so it is seen by people walking towards the shopfront rather than only those directly in front of it. Illuminated blade signs carry that advantage into the evening, and are a practical way to put your name in front of passing foot traffic. They suit shops, restaurants, clinics and any business on a pavement or arcade.
- Seen from along the street
- Double-sided, lit
- Compact on the wall
- Metal bracket and cabinet
Where blade signs work best
A flat fascia is visible only when you are almost in front of it. A blade sign solves the problem of the approach view:
- Shops and restaurants on pavements, high streets and arcades
- Clinics, dental practices and professional rooms entered from a street
- Hotels, guest houses and venues that want to be seen from either direction
- Narrow frontages with little fascia space
- Buildings set at a corner where one direction would otherwise see only a side wall
Blade signs do not replace a fascia sign; they work alongside it. They are less effective on a deep forecourt or a setback building where passing traffic is in vehicles, where a pylon is better.
Design options
Blade signs vary in shape, construction and how they are lit:
- Lightbox blades: a cabinet with a printed or cut-out face, lit evenly from inside
- Routed-face blades: metal faces with the logo cut out and backed with acrylic
- Letter blades: a shaped panel carrying built-up channel letters
- Shaped and icon blades: a silhouette that represents the trade, such as a tooth, fork or key
- Bracket styles: plain, decorative or minimal, fixed from the wall or hung from a frame
Depth and size are set by the wall, the pavement width and the landlord or municipal limits. Many frontages cap how far a sign may project, so we confirm before design.
Materials and finishes
Cabinets and brackets are usually fabricated in aluminium or stainless steel, powder-coated or painted in brand colours. Faces are opal acrylic with applied vinyl, or metal with cut-out artwork. Heritage or boutique frontages may suit brass- or copper-toned finishes on the bracket. Double-sided signs are built so both faces match in brightness and alignment. See materials and finishes.
Lighting options
Blade signs are typically lit with LED modules inside the cabinet, giving a bright, even face on both sides. Metal faces with cut-outs create crisp shapes that glow only where the logo is cut. Because a blade sign sits at head height or just above, brightness matters: too bright can dazzle people walking towards it, and too dim disappears behind street lighting. We usually add dimming and a timer or photocell so the sign switches on at dusk and off when you close.
Lighting for a blade sign should also take the nearby fascia into account, so the two do not look mismatched in colour or intensity.
Blade signs compared with neighbouring options
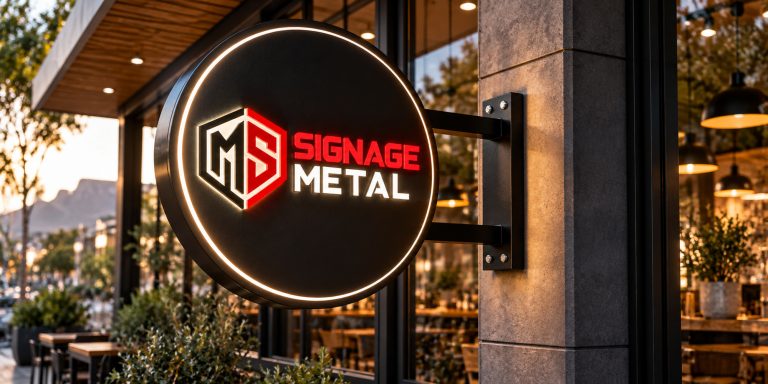
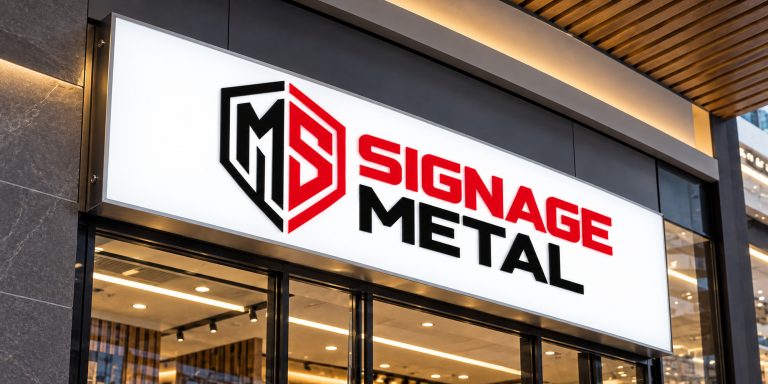
Projecting and hanging signs cover the full family, including unlit and decorative types. Choose an illuminated blade when evening visibility matters. LED lightbox signs are usually wall-parallel and suit a main fascia, while a blade is perpendicular and aimed at foot traffic.
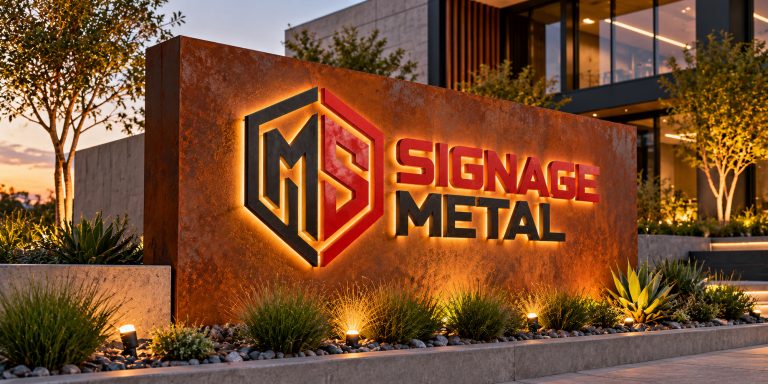
Shopfront signs deal with the whole frontage; a blade sign is one component. For a building rather than a shop, an illuminated monument or pylon may be more suitable for vehicle approach.
Technical considerations
- Viewing distance and size: as a rough guide, many designers allow around 25 mm of letter height per 10 m of viewing distance. Blade signs are read at an angle and at pavement distances, so shorter distances and bold simple graphics work best.
- Contrast: choose a face colour that stands out from the building colour behind.
- Mounting surface: the wall must carry the weight and wind load of a projecting cabinet. Brick, concrete and cladding need different fixings.
- Electrical access: power has to reach the bracket, ideally through a concealed route. We note cable paths and isolation at survey.
- Light spill and glare: avoid glare into first-floor windows or neighbouring units.
- Weather exposure: cabinets need sealed joints and drainage; brackets are detailed to reduce water entry.
- Access and approvals: projecting signs over a pavement are often regulated. Structural, electrical and municipal approval matters are checked at survey and design stage and may need the landlord, body corporate or municipality; we do not promise compliance in advance.
What affects the price
- Size, depth and projection
- Single- or double-sided construction
- Face material and artwork complexity
- Metal choice and finish
- Number of LED modules and power supply
- Bracket design and fixing method
- Wall type and cable route
- Access equipment at installation
We provide a written quotation after the survey and design brief.
Care and maintenance
Wipe faces with mild soapy water and check seals at the top of the cabinet. Check the fixings and bracket periodically, because a projecting sign takes wind loads. Replace failed LED modules rather than leaving a patchy sign. Our signage cleaning and maintenance and LED signage repairs keep blade signs in good order.
Blade signs across Gauteng
We build in metal and acrylic and arrange surveys and installation by appointment across Gauteng. Blade signs suit pedestrian-facing retail and office frontages such as these:
Options & specifications
| Faces | Opal acrylic with vinyl, or cut-out metal |
|---|---|
| Sides | Single- or double-sided |
| Typical construction | Aluminium or stainless steel cabinet and bracket |
| Lighting | LED modules, dimmable, timer or photocell |
| Projection | Set by wall, pavement and approvals |
| Mounting | Wall-fixed bracket, set at survey |
| Finish | Powder-coated or painted |
Options, materials and turnaround are confirmed on your written quote.
How ordering works
- 1
Brief
Tell us about the shopfront, the street and what you want people to see.
- 2
Site survey
We measure the wall, check projection limits, the pavement and the power route.
- 3
Design & approval
You approve drawings with a mockup of the sign on your frontage; consent is arranged where needed.
- 4
Manufacture
The cabinet, bracket and lighting are built, wired and tested.
- 5
Installation
The sign is lifted into position, fixed, connected and checked on both faces.
Frequently asked questions
What is the difference between a blade sign and a fascia sign?
A fascia is parallel to the wall and seen from the front. A blade projects at right angles so it can be seen from along the street.
How far can a blade sign project?
It depends on the landlord, the pavement and municipal rules. We check the limit at survey and design stage before drawing the sign.
Do both faces light up?
Yes, a double-sided blade is built with both faces lit and matched.
Can the sign be switched on automatically?
Yes. A timer or photocell can switch it on at dusk and off at a set time.
Does a blade sign need permission?
Often. Projecting signs over a public pavement may need municipal approval, and landlords usually have requirements. We check these at survey and design stage.
Request a quote for Illuminated Blade Signs
Related services
 Projecting and Hanging SignsA flat fascia is hard to read until you are in front of it. Projecting signs stick out…View
 LED Lightbox SignsAn LED lightbox is a fabricated cabinet with a translucent face lit evenly from behind by LED modules.…View
 Shopfront SignsYour shopfront sign is the first thing a customer reads, often from across a street or down a…View
- Retail Fascia SignsA retail fascia sign is the main name board above your shop entrance. Most centres and landlords set…View
 Illuminated Monument SignsA monument sign is a low, solid, ground-mounted sign that welcomes people at an entrance. With integrated lighting…View
- Restaurant SignsA restaurant sign has two jobs: stop people on the street and then answer their questions at the…View
Send us a photo of your frontage and we will advise on blade sign size and position.
Send your brief, quantities and deadline. We reply with a clear written quote and confirm the turnaround before anything goes to production.